Trigger Rally uses images as the base for its racing tracks, which is very convenient for creating new maps.
The tools used in this tutorial are Geomorph (optional), Gimp and Inkscape, however any graphics software of your choice can be used instead.
Please write suggestions for improving this manual on the mailing list or message board.
Start
Copy a map directory to work with, for example:
cd data/maps/
cp -r roundhouse/ mytrack/
cd mytrack/
mv roundhouse.level mytrack.level
Now edit mytrack.level's name, comment and author.
Hint: insert "a" at the beginning of the track name while testing, so that the level appears first in the track list.
In the following steps, overwrite the existing image files and edit values to match your map's needs.
Content

Height (-h), color (-c), foliage (-f) and coordinates
Trigger Rally uses image files and an XML file to define maps:
Overview
- Height map for level geometry.
- Color map for painting the level geometry.
- Foliage map for placing plants on the map.
- Coordinates inside the XML file, for defining the race path.
To learn more about the XML format, please read the reference guide.
Height map
All you need to know about height maps: white is high, black is low.
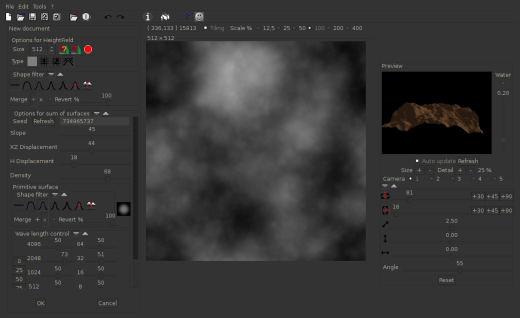
I like to use Geomorph to create height maps, but the render/clouds
filters in Gimp can be used just as well. I can only say &lqt;play around&rqt; to create a 512x512 environment.
To create a complete off-road experience, stop here. To create a more interesting track however, start Inkscape and:
- Draw a path using the Curve/Line tool (Shift+6) with no fill and a
#000000ff
, 12px-width stroke and round cap, - Select all nodes (F2, Ctrl+a) and make all nodes symmetric or &lqt;auto-smooth&rqt; using the buttons in the tool controls bar,
- Set the stroke fill to linear or radial gradient and ... play around some more!
- (Optional) duplicate the curve, convert it via
path/stroke to path
and move some nodes around, so that the race track varies in width.
Make sure to export &lqt;page area&rqt; of the 512x512 image. This way, the coordinates will be a 1:1 match (more on that later, just make sure to save the .svg files).
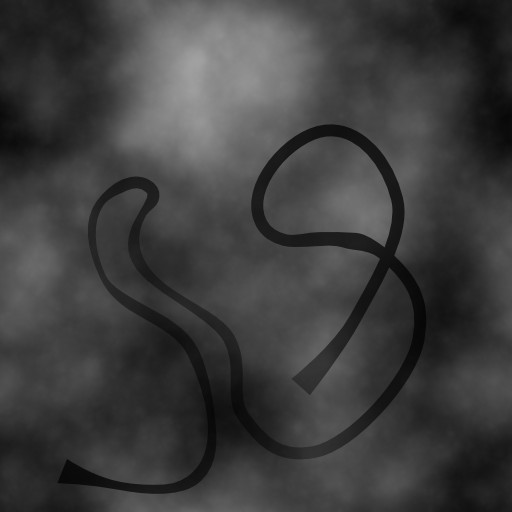
The last step is to combine environment and track into one height map. Layer blend mode and opacity are values to play around with. The colors/levels
tool will allow you to make quick black/white (height) changes. Or you can change the verticalscale
value (I don't recommend it).

Terrain/track mix for the heightmap
Color map
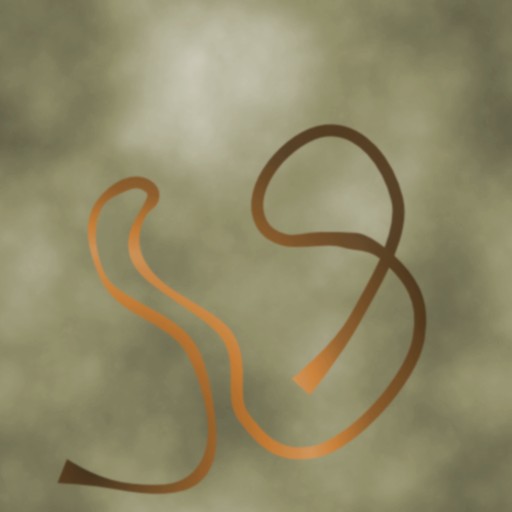
My setup is simple: two layers in Gimp (terrain and track) and both of them are differently colored using colors/colorize
. Maybe with a filter/blur/gaussian blur
of 2px applied to the track layer.
Foliage map
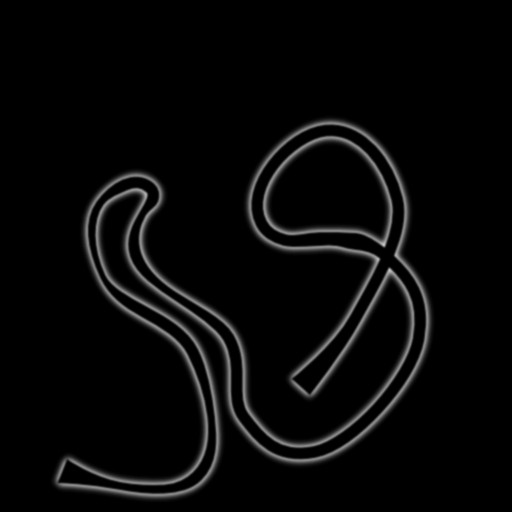
Thanks to this image's white surface, the level will have foliage distributed in respective areas. The distribution of plants is rather organic, so you can just paint with a brush.
What I like to do is taking a white-filled track layer on black background, gaussian-blurring it and overlaying another black-filled track layer, so the track's borders have even vegetation on them.
Coordinates
For this, you will need the path svg opened in Inkscape. Select single nodes to see their position and copy that to the mytrack.level file. Here are the coordinates for above map:
<startposition pos="66, 43, 2.0" oridegrees="250" />

<checkpoint coords="197, 36" />
<checkpoint coords="193, 160" />
<checkpoint coords="100, 234" />
<checkpoint coords="101, 307" />
<checkpoint coords="150, 324" />
<checkpoint coords="136, 257" />
<checkpoint coords="229, 174" />
<checkpoint coords="244, 94" />
<checkpoint coords="314, 60" />
<checkpoint coords="419, 173" />
<checkpoint coords="383, 259" />
<checkpoint coords="261, 289" />
<checkpoint coords="326, 381" />
<checkpoint coords="397, 313" />
<checkpoint coords="356, 194" />
<checkpoint coords="301, 123" />
These values work well when the following is set:
<race coordscale="4.0, 4.0"


